How to Use Applique Embroidery Design Files: A Step-by-Step Guide
Welcome to Duyn Applique!
Thank you for purchasing our applique embroidery designs. Whether you’re a beginner or an experienced embroiderer, this guide will walk you through the steps to get the best results using our designs.
If you’re new to embroidery, please read the following tips carefully before getting started!
Download more stunning designs here.
Important Tips Before You Begin
- Test First: Always test the design on a scrap piece of fabric before applying it to your final project. This helps you avoid mistakes and ensures your results are as expected.
- Reach Out for Support: If you encounter any issues or have questions, feel free to contact us for detailed guidance.
Step-by-Step Instructions for Using Applique Embroidery Files
Step 1: Start with Two Initial Run Stitches
-
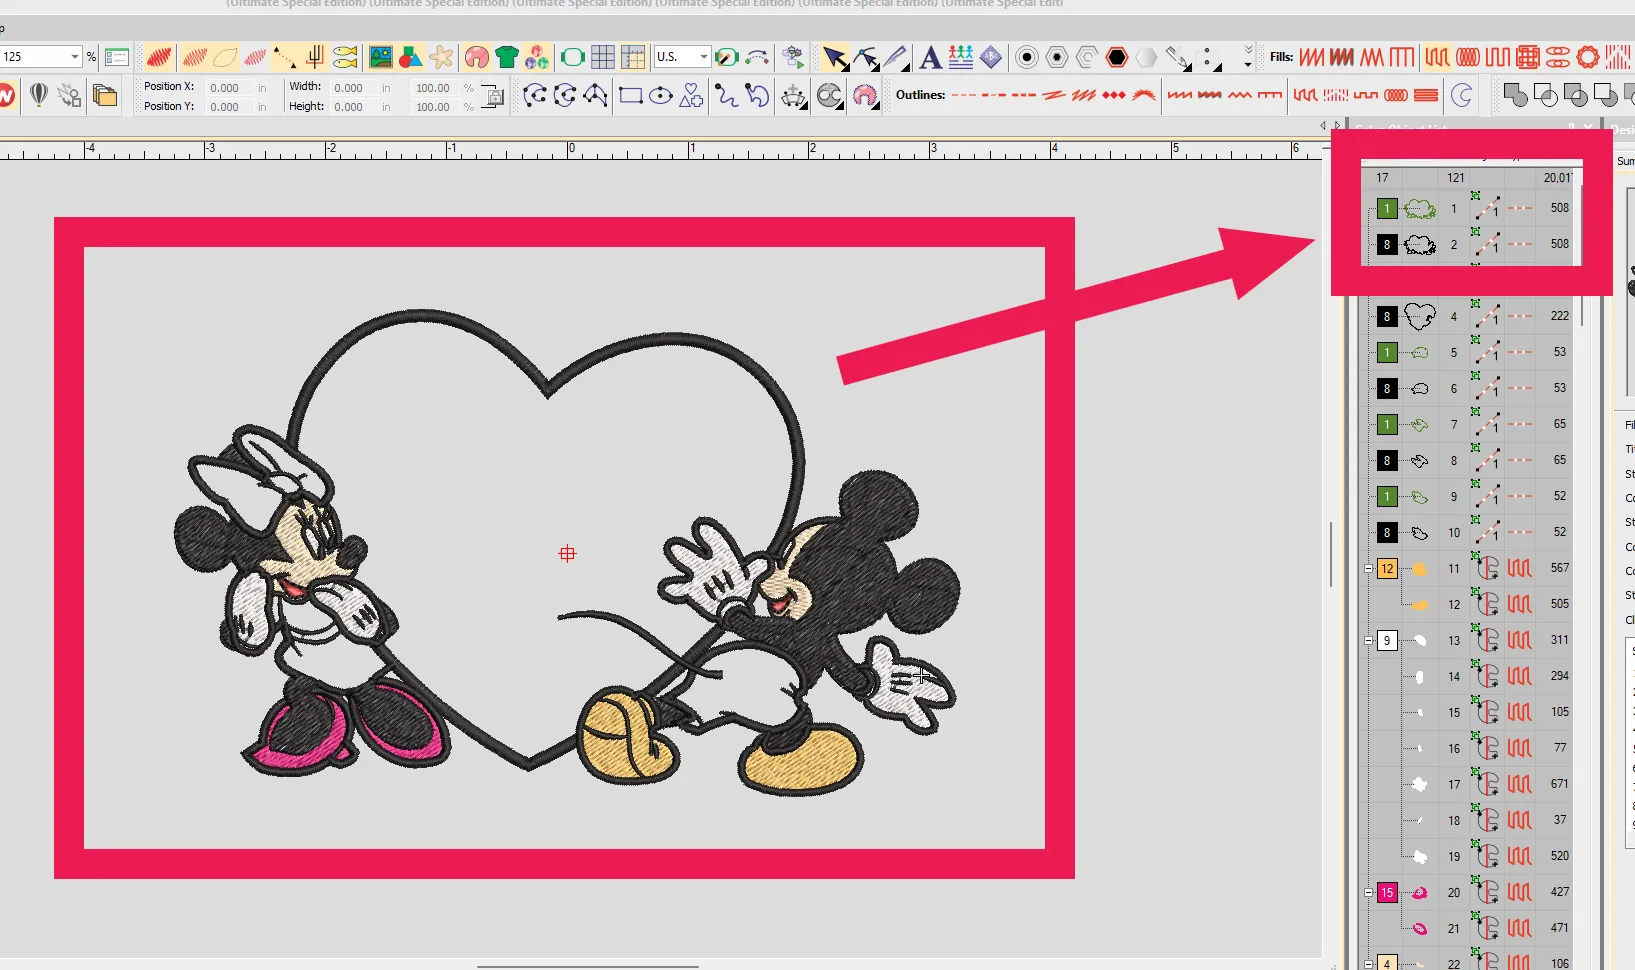
First Run Stitch:
This stitch outlines the area where the entire design will be embroidered on the hoop surface. Do not embroider directly onto the garment or fabric at this stage. Instead:- Let the machine finish this run stitch.
- Pause the machine and place your garment/fabric securely over the marked area.
-
Second Run Stitch:
This stitch secures the garment or fabric to the hoop. Ensure the fabric is smooth and well-positioned before starting.
Step 1: Start with Two Initial Run Stitches
Step 2: Work Through Subsequent Run Stitches
From this point onward, the design will include groups of run stitches, each serving specific purposes:
-
Group Structure:
- Each group contains two consecutive stitches.
- The first stitch in the group identifies the area where fabric pieces need to be placed.
- After this stitch, stop the machine and place your applique fabric over the identified area.

Step 2: Work Through Subsequent Run Stitches
-
Securing the Fabric:
- The second stitch in the group secures the placed fabric piece to the base fabric.
- Trim any excess fabric around the edges after this step for a clean finish.

Step-by-Step Instructions for Using Applique Embroidery Files
Step 3: Continue with Remaining Sections
Repeat the above process for all subsequent sections in the design. Each section will follow the same structure:
- Mark the area.
- Place and secure the fabric.
- Trim as needed.

Step 3: Continue with Remaining Sections
Step 4: Finalize with Full Embroidery Stitches
After all applique pieces are secured, the design will proceed with the final embroidery steps. These stitches will fill in the details and complete the design. Simply follow the machine prompts and finish like normal embroidery work.

Why Follow These Steps?
By following this method, you’ll:
- Achieve clean and professional applique designs.
- Avoid common mistakes like misaligned fabric or incomplete stitching.
- Save time and material by ensuring each step is executed perfectly.
Flexible Process for Different Designs
While each design may have unique steps or arrangements, the overall process remains the same. Adapt as necessary and trust the steps above to guide you toward success.
Final Thoughts and Tips for Success
With these steps, you’re ready to bring your creativity to life! Remember:
- Practice makes perfect. Testing the design first will help you gain confidence.
- Pay close attention to each step, especially when securing the applique fabric.
We’re here to help if you need assistance, so don’t hesitate to reach out.
Enjoy Embroidering with Duyn Applique
We wish you all the best with your projects. Stay creative and have fun!
For more embroidery tips and tricks, explore our other blog posts.
Explore more stunning designs here.
 Fluff You Alpaca Embroidery Designs, DST Files for Embroidery Designs


